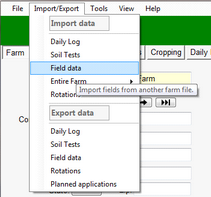
Import/Export Menu |

|

|
|
Import/Export Menu |
|
|
Import/Export Menu |
|
|
|
Import/Export Menu |
|
|
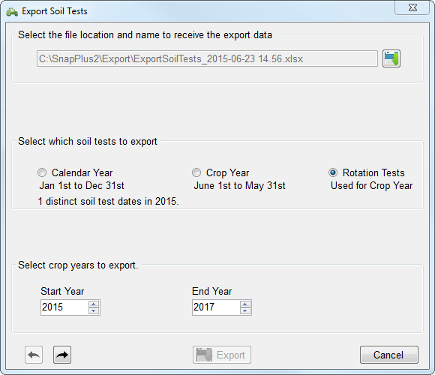
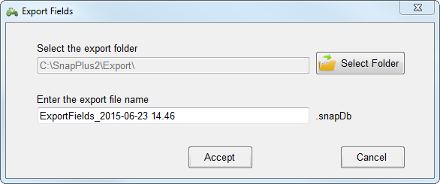
Export the current soil sample data to an up-to-date importable soil test excel (.xlsx) file. This may be particularly useful when you merge or split fields.
Select the input parameters 1.Click on the save file Icon
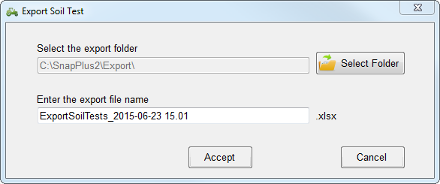
2.Use the Select Folder button to browse to the destination folder for the exported data. 3.Enter the file name for the exported data and click on Accept. 4.Select which soil tests to export (Calendar years, Crop years or Rotation Tests – soil tests selected on the cropping screen) 5.Select the range of years to export 6.
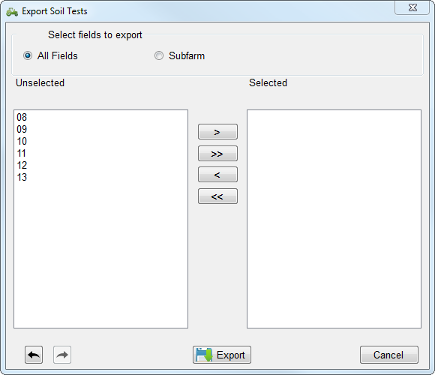
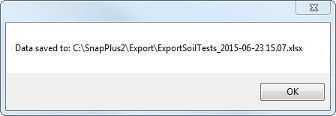
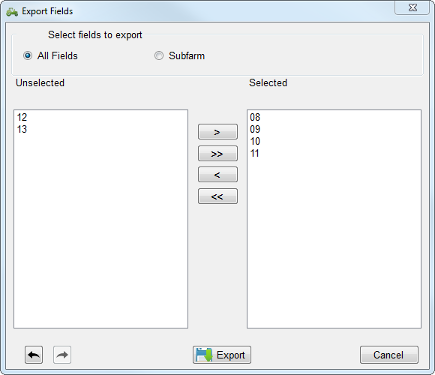
Select fields to export allows you to select from a list of fields or select entire subfarms to export. •All Fields will list all fields •Subfarm will list all subfarms After your selections are made click on the export button and the save will be confirmed.
|
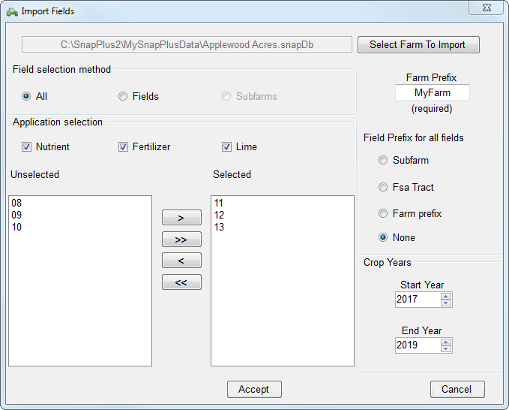
The purpose is to allow users to import some or all of the fields from another farm. It will facilitate the Import/Export process if you put the fields to be imported in one or more subfarms.
The field, soil test, and cropping data will be imported for the fields selected. There are options to import the application data as well.
Select Farm To Import – First select a farm file to import. This will populate the dual list box with all of the fields in the farm. If subfarms exist in the selected farm the Subfarms radio button will be enabled. You may select all or a subset of the fields for import. Field selection method •All lists all of the fields in the selected list. •Fields lists all of the fields in the unselected list. •Subfarms lists all of the subfarm names in the unselected list. Application selection defaults to importing all applications. You may uncheck any of the applications you do not wish to import. Farm Prefix will be added to field or source names for the imported fields if these names are duplicates of those in the existing database. The prefix is used to make these names unique. Field Prefix defines the prefix to be used for all imported fields (not just duplicates). Crop Years refer to soil test, cropping and application data that will be imported. Accept uses the selected setup to import the data. |
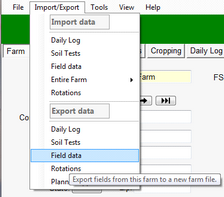
Export data | Fields will export the selected fields and data to a new empty farm database file. It will facilitate the Import/Export process if you put the fields to be exported in one or more subfarms. The Import/Export process is: •Export your fields •Set the exported fields to InActive on the Fields Screen •Send the export farm to the new user •The new user imports the export farm.
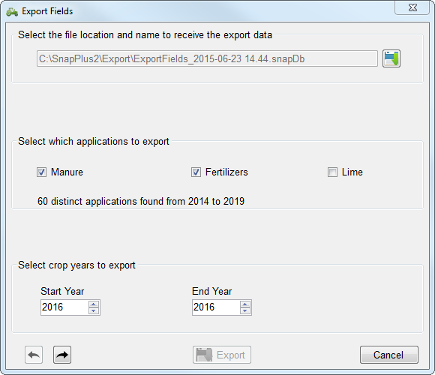
The field, soil test, and cropping data will be exported for the fields selected. There are options to export the application data as well.
Select the file for export data: First enter a farm file name and location to export the data. (Note: This will destroy all data if the farm already exists.)
Select which application to export defaults to exporting all applications. You may uncheck any of the applications you do not wish to export. Select crop years to export refer to soil test, cropping and application data that will be exported.
Select fields to export •All Fields lists all fields in the unselected list. •Subfarms lists the subfarms in the unselected list. Note: You may not export ALL of the fields. Use Archive with the .snapDb extension for that operation. |
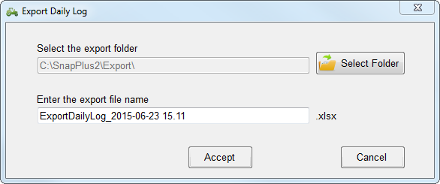
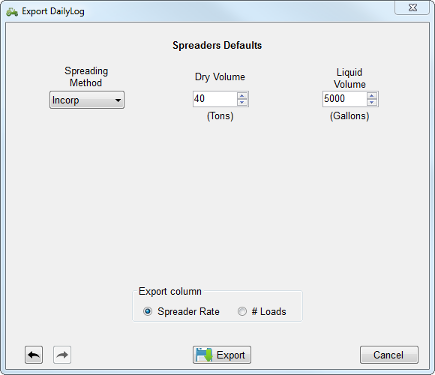
Export data | Daily Log will allow users to export current values to an up-to-date importable xls file. This file could be used as a template for future logs. The daily log may only be exported for one source class at a time.
Select the file for export data – First select a spreadsheet file to export the data to. Note: This will replace the spreadsheet file, destroying any data in it, if it already exists.
Select which application to export defaults to exporting all applications. You may uncheck any of the applications you do not wish to export. Select crop years to export refer to soil test, cropping and application data that will be exported.
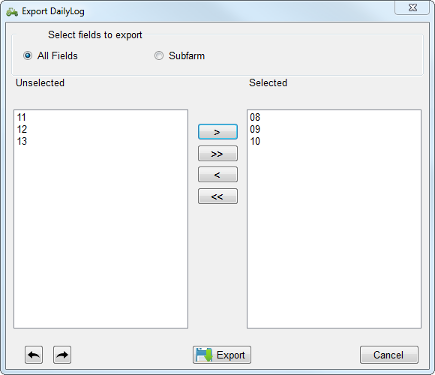
Select fields to export •All Fields lists all fields in the unselected list. •Subfarms lists the subfarms in the unselected list.
These default values are used for applications that are not in your current daily log.
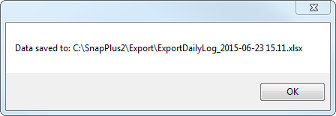
Set the default values and Export. A dialog box will appear confirming the export.
|
Allows you to export all of your planned applications – excluding the actuals already imported - to either a daily log import file or directly to the Daily Log screen. The procedure is similar to that described in the Export Daily Log section.
|